Installation
1. Download the main RSGallery2 component
On github look for the newest version (v4.2.0++) Releases of component
Inside the assets you will find a zip file with a name like RSGallery2_Component_4_2_0.zip. Download and install the newest zip file matching this name and a newer version number
2. Install RSGallery2 component
RSGallery2 is installed like all other Joomla! extensions. Log in to the Administrator section, click on Extensions > Manage ->Install
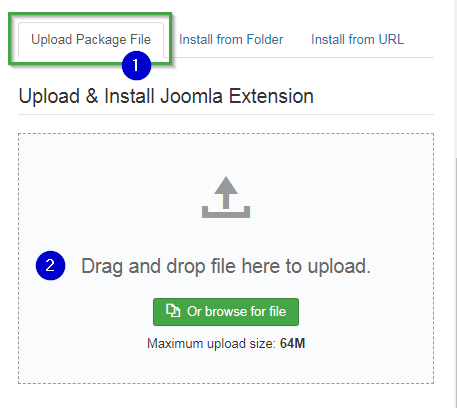
(1) Select "upload package file" tab
(2) Drag and drop the downloaded zip file into the drop area
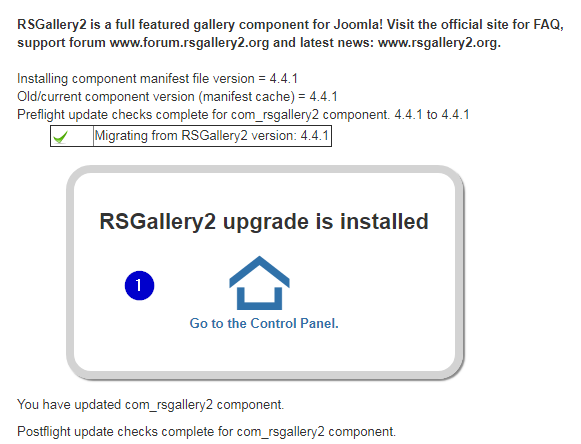
On successful upload you will get a message similar to following image
On upload error try to transfer (?the content of?) the zip file to the server and use "Install from folder". (Some php.ini settings restrict the size of uploaded files)
Clicking on (1) will lead to the RSGallery2 control panel
First steps
Three steps are needed to display galleries
- Create a gallery
- Upload images
- Create a menu to view galleries
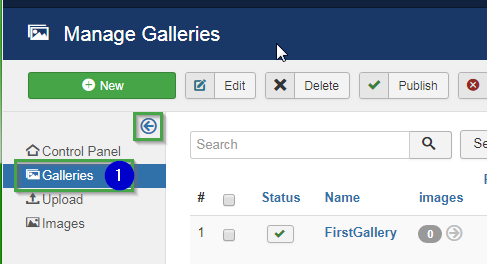
First steps (1) Create a gallery
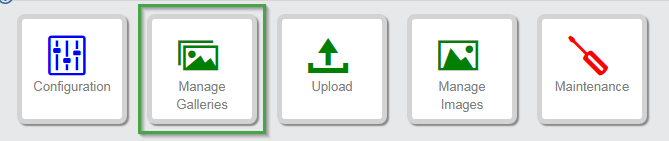
In control panel select "Manage Galleries"

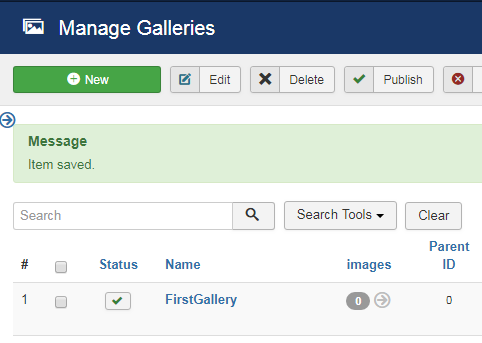
Use new to start a new gallery

(1) Add a name
(2) Create the gallery with click on "Save and Close"
Following gallery list view appears with new gallery on top
First steps (2) Upload images
a) Prepare 4 small images (example each image < 1MB)
Select upload form
Select Upload in Control panel or in sidebar
Sidebar:
Upload files
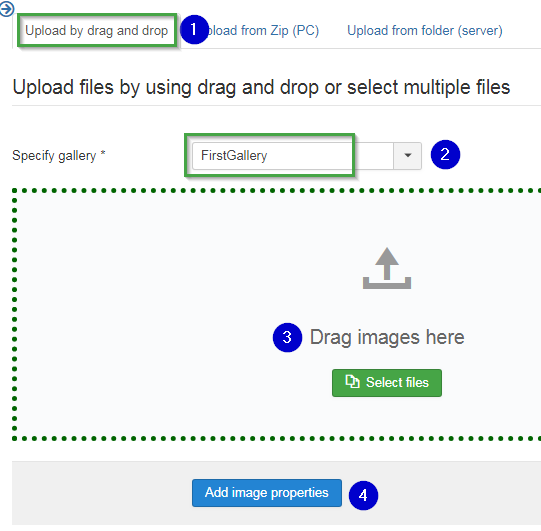
- Select tab "Upload by drag and drop"
- Select your created gallery
- Drag and drop the prepared Images
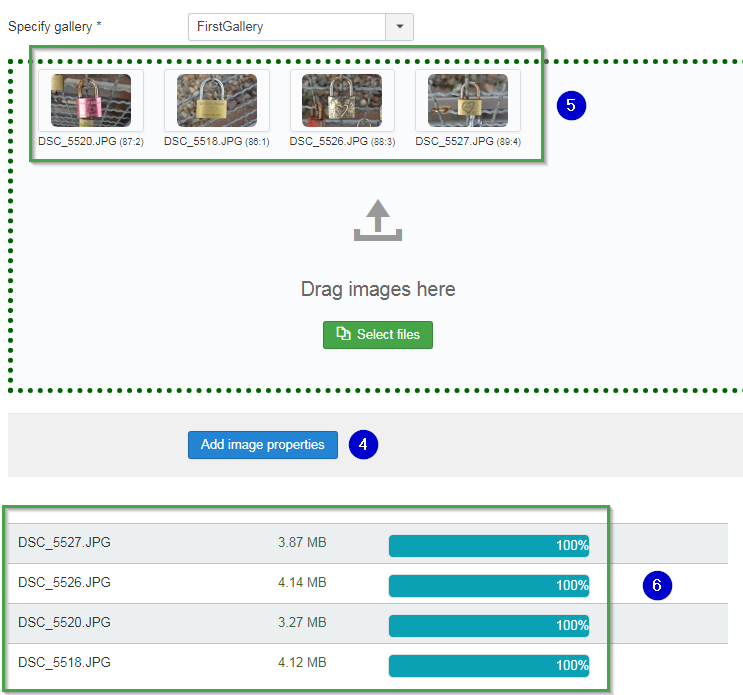
After some time they will appear in the drag area. Then they are successfully uploaded
Resulting form:
- If you want to set a title and write a description use button "Add image properties"
- Uploaded images have appeared
- For each uploaded image the process bar shows the amount of uploaded bytes in %
First steps (3) Create a menu to view galleries
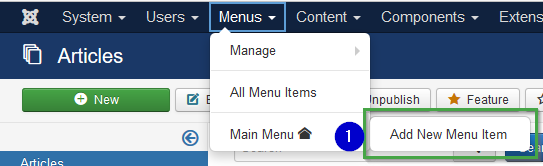
(1) Select Menus -> Main menu and use "Add new Menu Item"
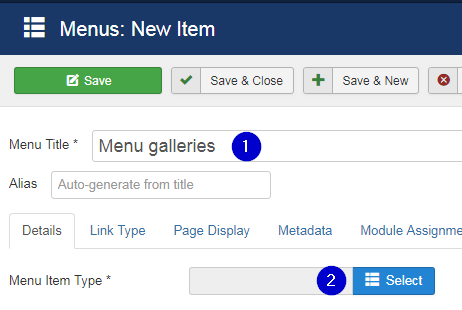
(1) Add menu name
(2) Click on select button
Following image will appear
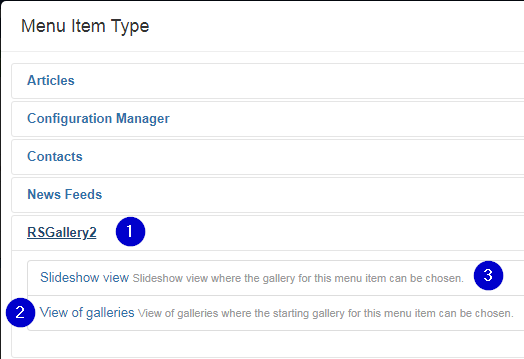
(1) Click on Rsgallery2 to open the two possible menu types provided by RSGallery2
(2) Click on view of galleries to assign a gallery view to the Menu
(3) Click on Slideshow to assign a slide show to the Menu
The click leads back to a changed menu item definition
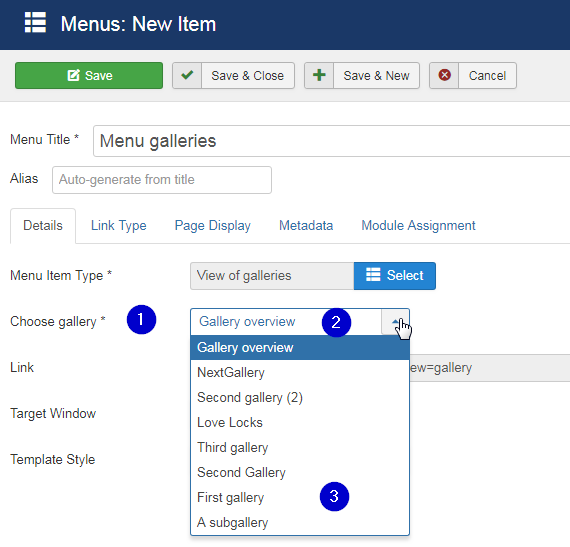
(1) Choose Gallery from (partly hidden) list
Select either a single gallery or a gallery overview
(2) Gallery overview
Selecting "Gallery overview" item shows a set of galleries to the user. Depending on the configuration definitions there may additional images list displayed like "latest images"
(3) Select an single gallery
Then only this gallery is shown when the user selects this menu
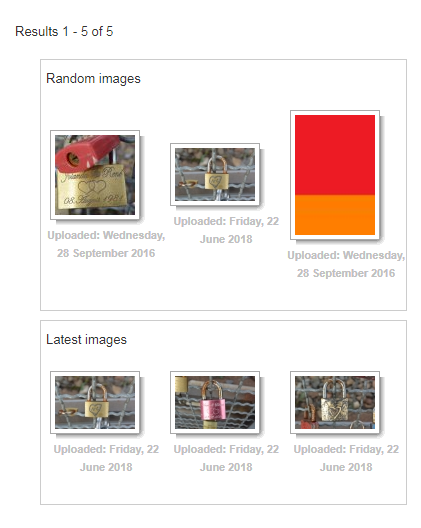
Menu user view example
Number of shown galleries can be predefined in the configuration
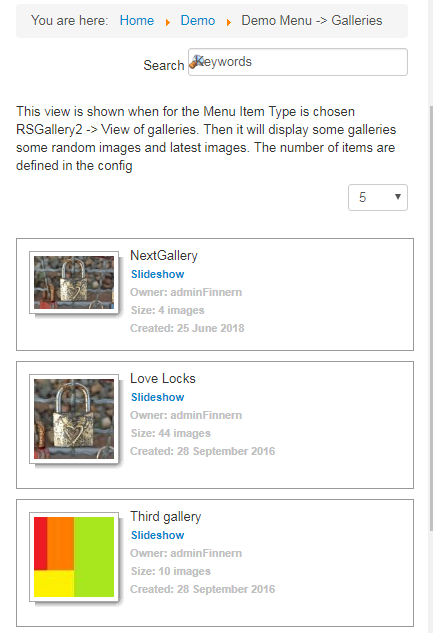
The appearsrance of Random images and latest images can be predefined in the configuration
Hint: Representing gallery image
When images are assigned to a gallery the gallery is represented by a image inside the gallery. This can be a random image or a selected one. The setting can be assigned inside the edit view of the gallery.
First steps
Three steps are needed to display galleries
- Create a gallery
- Upload images
- Create a menu to view galleries